Skip to content


6 Yoga Poses How to Strengthen Your Wrists
Build Stronger Wrists Through Better Hand Contact, Mobility and Active Control
By Dav Jones, Senior Yoga Teacher and Teacher Trainer
Your wrists support you more than you probably realise.
They work every time you push yourself up from the floor, carry something heavy, or support your body weight through your hands.
During yoga, the demands can become considerably greater. From Downward-Facing Dog and Plank to Crow, Handstand and other arm balances, the hands and wrists become part of the foundation supporting the entire body.
But developing stronger wrists isn’t simply a matter of spending more time bearing weight through them.
We also need to consider how the hand meets the floor, how much range of motion is available at the wrist, and whether you can actively control that range.
This is an important distinction.
A wrist may have enough passive flexibility to move into extension, but that doesn’t necessarily mean you have the strength and control to manage that position when body weight is added.
The aim, therefore, isn’t simply to make your wrists more flexible or to tolerate more pressure.
It’s to develop mobility, strength and control through the ranges your practice requires.
In this guide, we’ll explore six yoga poses that can help strengthen the wrists, alongside two principles I regularly teach:
- creating a more intelligent connection between the hand and the floor
- developing both passive and active wrist range of motion
Together, these can create a stronger foundation for weight-bearing yoga poses, transitions and arm balances.
Before the Poses: Understand Your Hand Contact
When your hands are on the floor, don’t think of the palm as one flat surface that simply presses down.
There are different contact points within the hand that can influence how force travels through the wrist and into the rest of the upper limb.
Two points I particularly encourage students to become aware of are the first knuckle – around the base of the index finger – and the pisiform, the small bone on the little-finger side at the heel of the hand.
Think about maintaining contact through these two points rather than allowing all of your weight to collapse backwards into the heel of the hand.
The first knuckle provides an important point of contact towards the front and thumb-side of the hand, while the pisiform gives you a reference point towards the outer heel of the hand.
Rather than simply saying, “press evenly through the whole hand,” explore how these two points help you establish a more deliberate relationship with the floor.
From there, the fingers can remain active and responsive.
This becomes particularly important in positions such as Plank, Downward-Facing Dog and Crow, where the hands aren’t passive supports. They are actively interacting with the ground.
Your hands are your foundation. Learn to use them before simply asking your wrists to tolerate more load.
Wrist Mobility: Passive Range vs Active Range
Another important part of wrist health is understanding the difference between passive range of motion and active range of motion.
Passive range describes how far a joint can move when an external force helps take it there.
For example, with your palm on the floor, shifting your body forwards over the hand can passively take the wrist further into extension.
Active range asks a different question:
How much of that movement can you create and control yourself?
This distinction matters because yoga frequently takes our joints into ranges where they then need to manage load.
Having passive flexibility without sufficient active control can leave a gap between the position you can access and the position you can actually manage.
Rather than only stretching your wrists before practice, work with both.
Passive wrist movement
From Tabletop, keep the palm and fingers in contact with the floor and gently move your shoulders forwards.
Allow the wrist to move progressively into extension.
Move only within a comfortable range and notice where resistance begins.
You can then shift backwards to reduce the angle.
This gives you an opportunity to explore your available passive range under gradually changing load.
Active wrist movement
Now explore wrist movement without relying solely on body weight to create the position.
Move slowly through flexion and extension and explore controlled wrist circles.
Rather than chasing the biggest possible movement, concentrate on creating the movement deliberately.
You can also explore lifting parts of the hand while maintaining other contact points with the floor, gradually developing strength and awareness through the hand and forearm.
The objective is not simply:
“How far can my wrist move?”
A more useful question is:
“How much of this range can I actively control?”
Both qualities matter.
1. Tabletop Pose (Bharmanasana)
Tabletop is one of the best places to begin because you can regulate how much body weight moves into the hands.
It also gives you time to establish your hand contact before increasing the demand on the wrists.
Why It Helps
Tabletop can help:
- Gradually introduce load to the wrists
- Explore wrist extension
- Develop hand awareness
- Strengthen the hands and forearms
- Improve shoulder stability
- Explore active and passive wrist movement
Start Here
Place the shoulders approximately over the wrists.
Spread the fingers comfortably rather than forcing them as wide as possible.
Establish contact through the first knuckle and pisiform.
Then notice what happens at the heel of the hand.
Rather than collapsing your body weight into the wrist, actively push the floor away.
Develop the Movement
Slowly shift your shoulders forwards and backwards.
As you move forwards, the wrist moves further into extension.
As you move backwards, the load decreases.
You can then explore controlled circles, gradually moving around the available range of the wrist.
The emphasis should be on slow, deliberate movement rather than simply stretching as far as possible.
Common Mistakes
- Collapsing heavily into the heel of the hand
- Losing first-knuckle contact
- Treating the fingers as passive
- Locking the elbows
- Moving beyond a controllable wrist range
- Allowing the shoulders to collapse
Think less about “stretching the wrist” and more about developing control through the range.
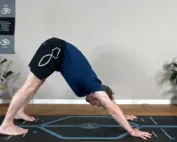
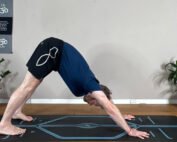
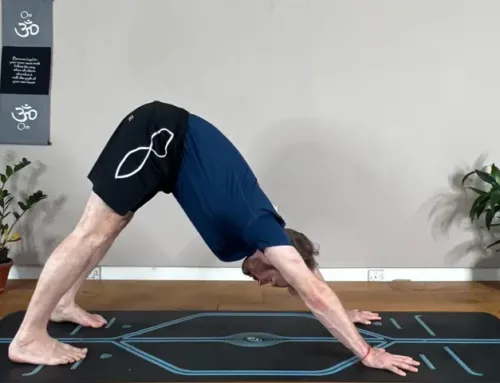
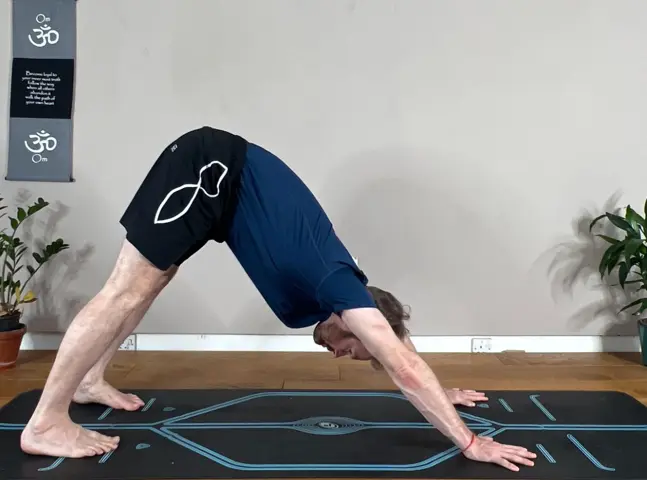
2. Downward-Facing Dog (Adho Mukha Svanasana)
Downward-Facing Dog increases the demand on the hands and wrists while allowing the feet to share the load.
This makes it a useful progression from Tabletop.
Why It Helps
The pose can:
- Develop wrist endurance
- Strengthen the hands and forearms
- Improve shoulder stability
- Integrate the hands with the rest of the upper body
- Develop awareness of force distribution
Before lifting your knees, establish your hand contact.
Find the first knuckle and pisiform.
Maintain those reference points as you lift the hips.
Rather than simply trying to push harder through your palms, notice whether you can maintain the organisation of the hand as the amount of load increases.
Keep pushing the floor away so the shoulders remain active.
If your wrist range currently limits the position, bending the knees and adjusting your overall shape may allow you to work more effectively rather than forcing greater wrist extension.
Common Mistakes
- Losing first-knuckle contact
- Dumping weight backwards into the heel of the hand
- Treating the fingers as passive
- Collapsing through the shoulders
- Forcing wrist range
- Assuming discomfort means the wrists simply need to “get stronger”
3. Plank Pose (Phalakasana)
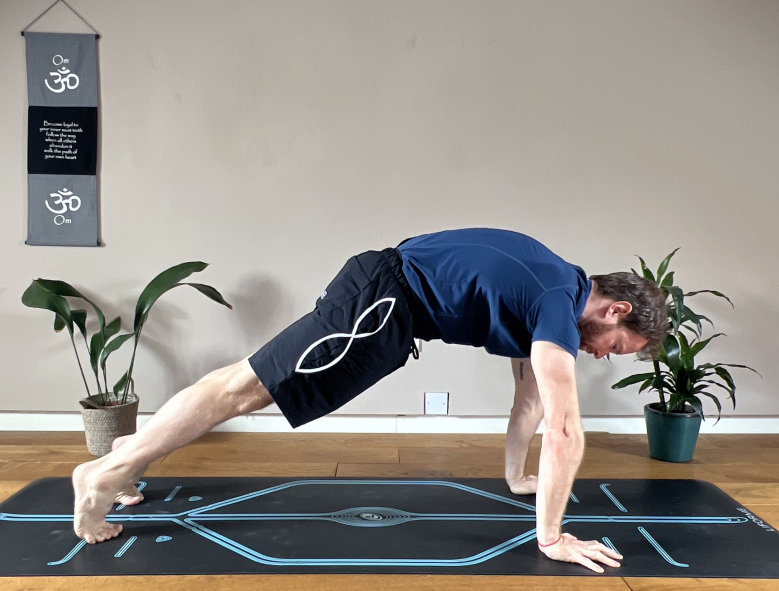
Plank increases the load through the wrists and asks you to organise the entire kinetic chain above them.
This is where good hand mechanics become particularly valuable.
Why It Helps
Plank can:
- Build wrist load tolerance
- Strengthen the forearms
- Develop shoulder stability
- Strengthen the trunk
- Integrate hand, wrist, elbow and shoulder control
Set the hands before moving into the full position.
Maintain your first-knuckle and pisiform contact and actively push the ground away.
Notice whether increasing the load changes the shape of your hand.
If you lose your contact points or feel yourself collapsing into the heel of the hand, reduce the load by lowering the knees.
This isn’t a regression.
It allows you to practise the movement with better organisation.
Build the capacity first. Increase the demand second.
4. Dolphin Pose (Ardha Pincha Mayurasana)
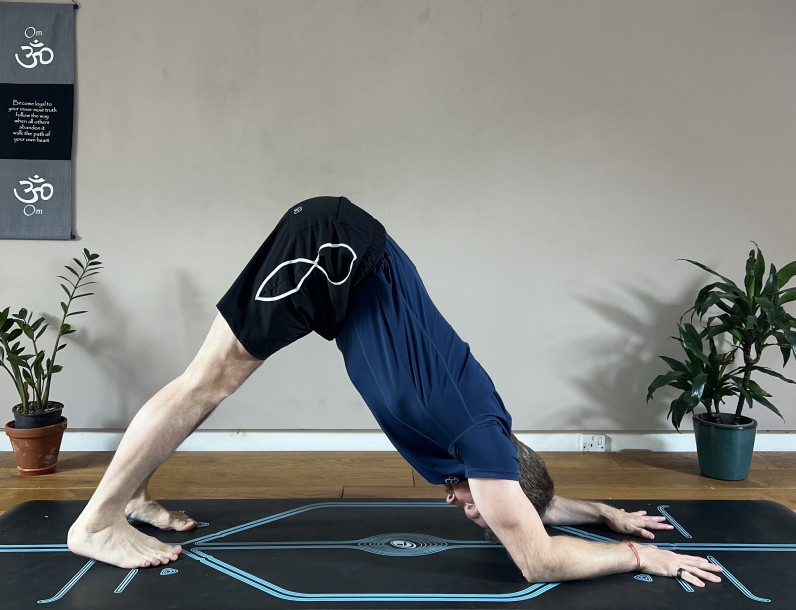
Dolphin removes direct weight-bearing through the hands while still strengthening an important part of the system above the wrists: the shoulders.
This makes it useful when you want to develop upper-body strength without continually loading wrist extension.
Why It Helps
Dolphin can:
- Strengthen the shoulders
- Develop upper-body stability
- Build forearm strength
- Temporarily reduce direct wrist loading
- Prepare the upper body for inversions
Strong, well-controlled shoulders can help distribute force more effectively when you return to hand-supported positions.
This is an important reminder that wrist capacity isn’t only about the wrist.
The hand, wrist, elbow, shoulder blade, shoulder and trunk all contribute.
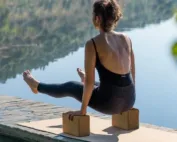
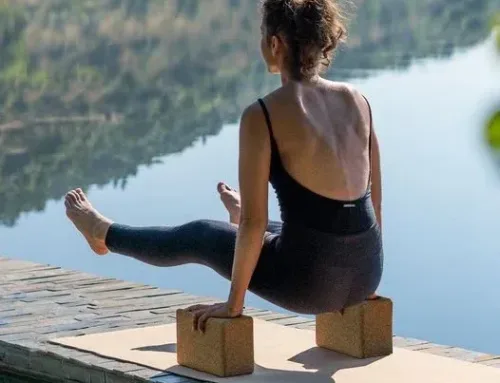
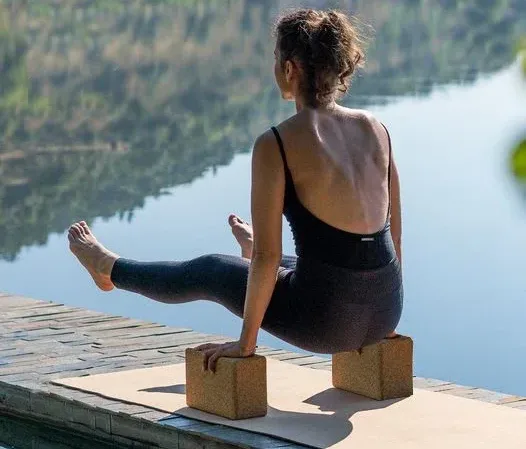
5. Reverse Tabletop Pose (Ardha Purvottanasana)
Many common yoga positions repeatedly take the wrist into extension with the fingers pointing forwards.
Reverse Tabletop changes the relationship between the hands, wrists and shoulders and exposes the wrist to a different orientation.
This can be useful, but it shouldn’t be forced.
Why It Helps
Reverse Tabletop can:
- Expose the wrists to a different loading position
- Strengthen the upper limbs
- Develop shoulder extension
- Strengthen the posterior chain
- Increase awareness of available wrist range
Before lifting the hips, check the wrists.
Can you comfortably establish the hand position?
Can you maintain it while adding load?
If not, modify the hand orientation or reduce the amount of load rather than forcing yourself into a range you don’t yet control.
The aim isn’t to make every wrist achieve the same position.
It’s to progressively develop usable range and strength.
6. Crow Pose Preparation (Bakasana Preparation)
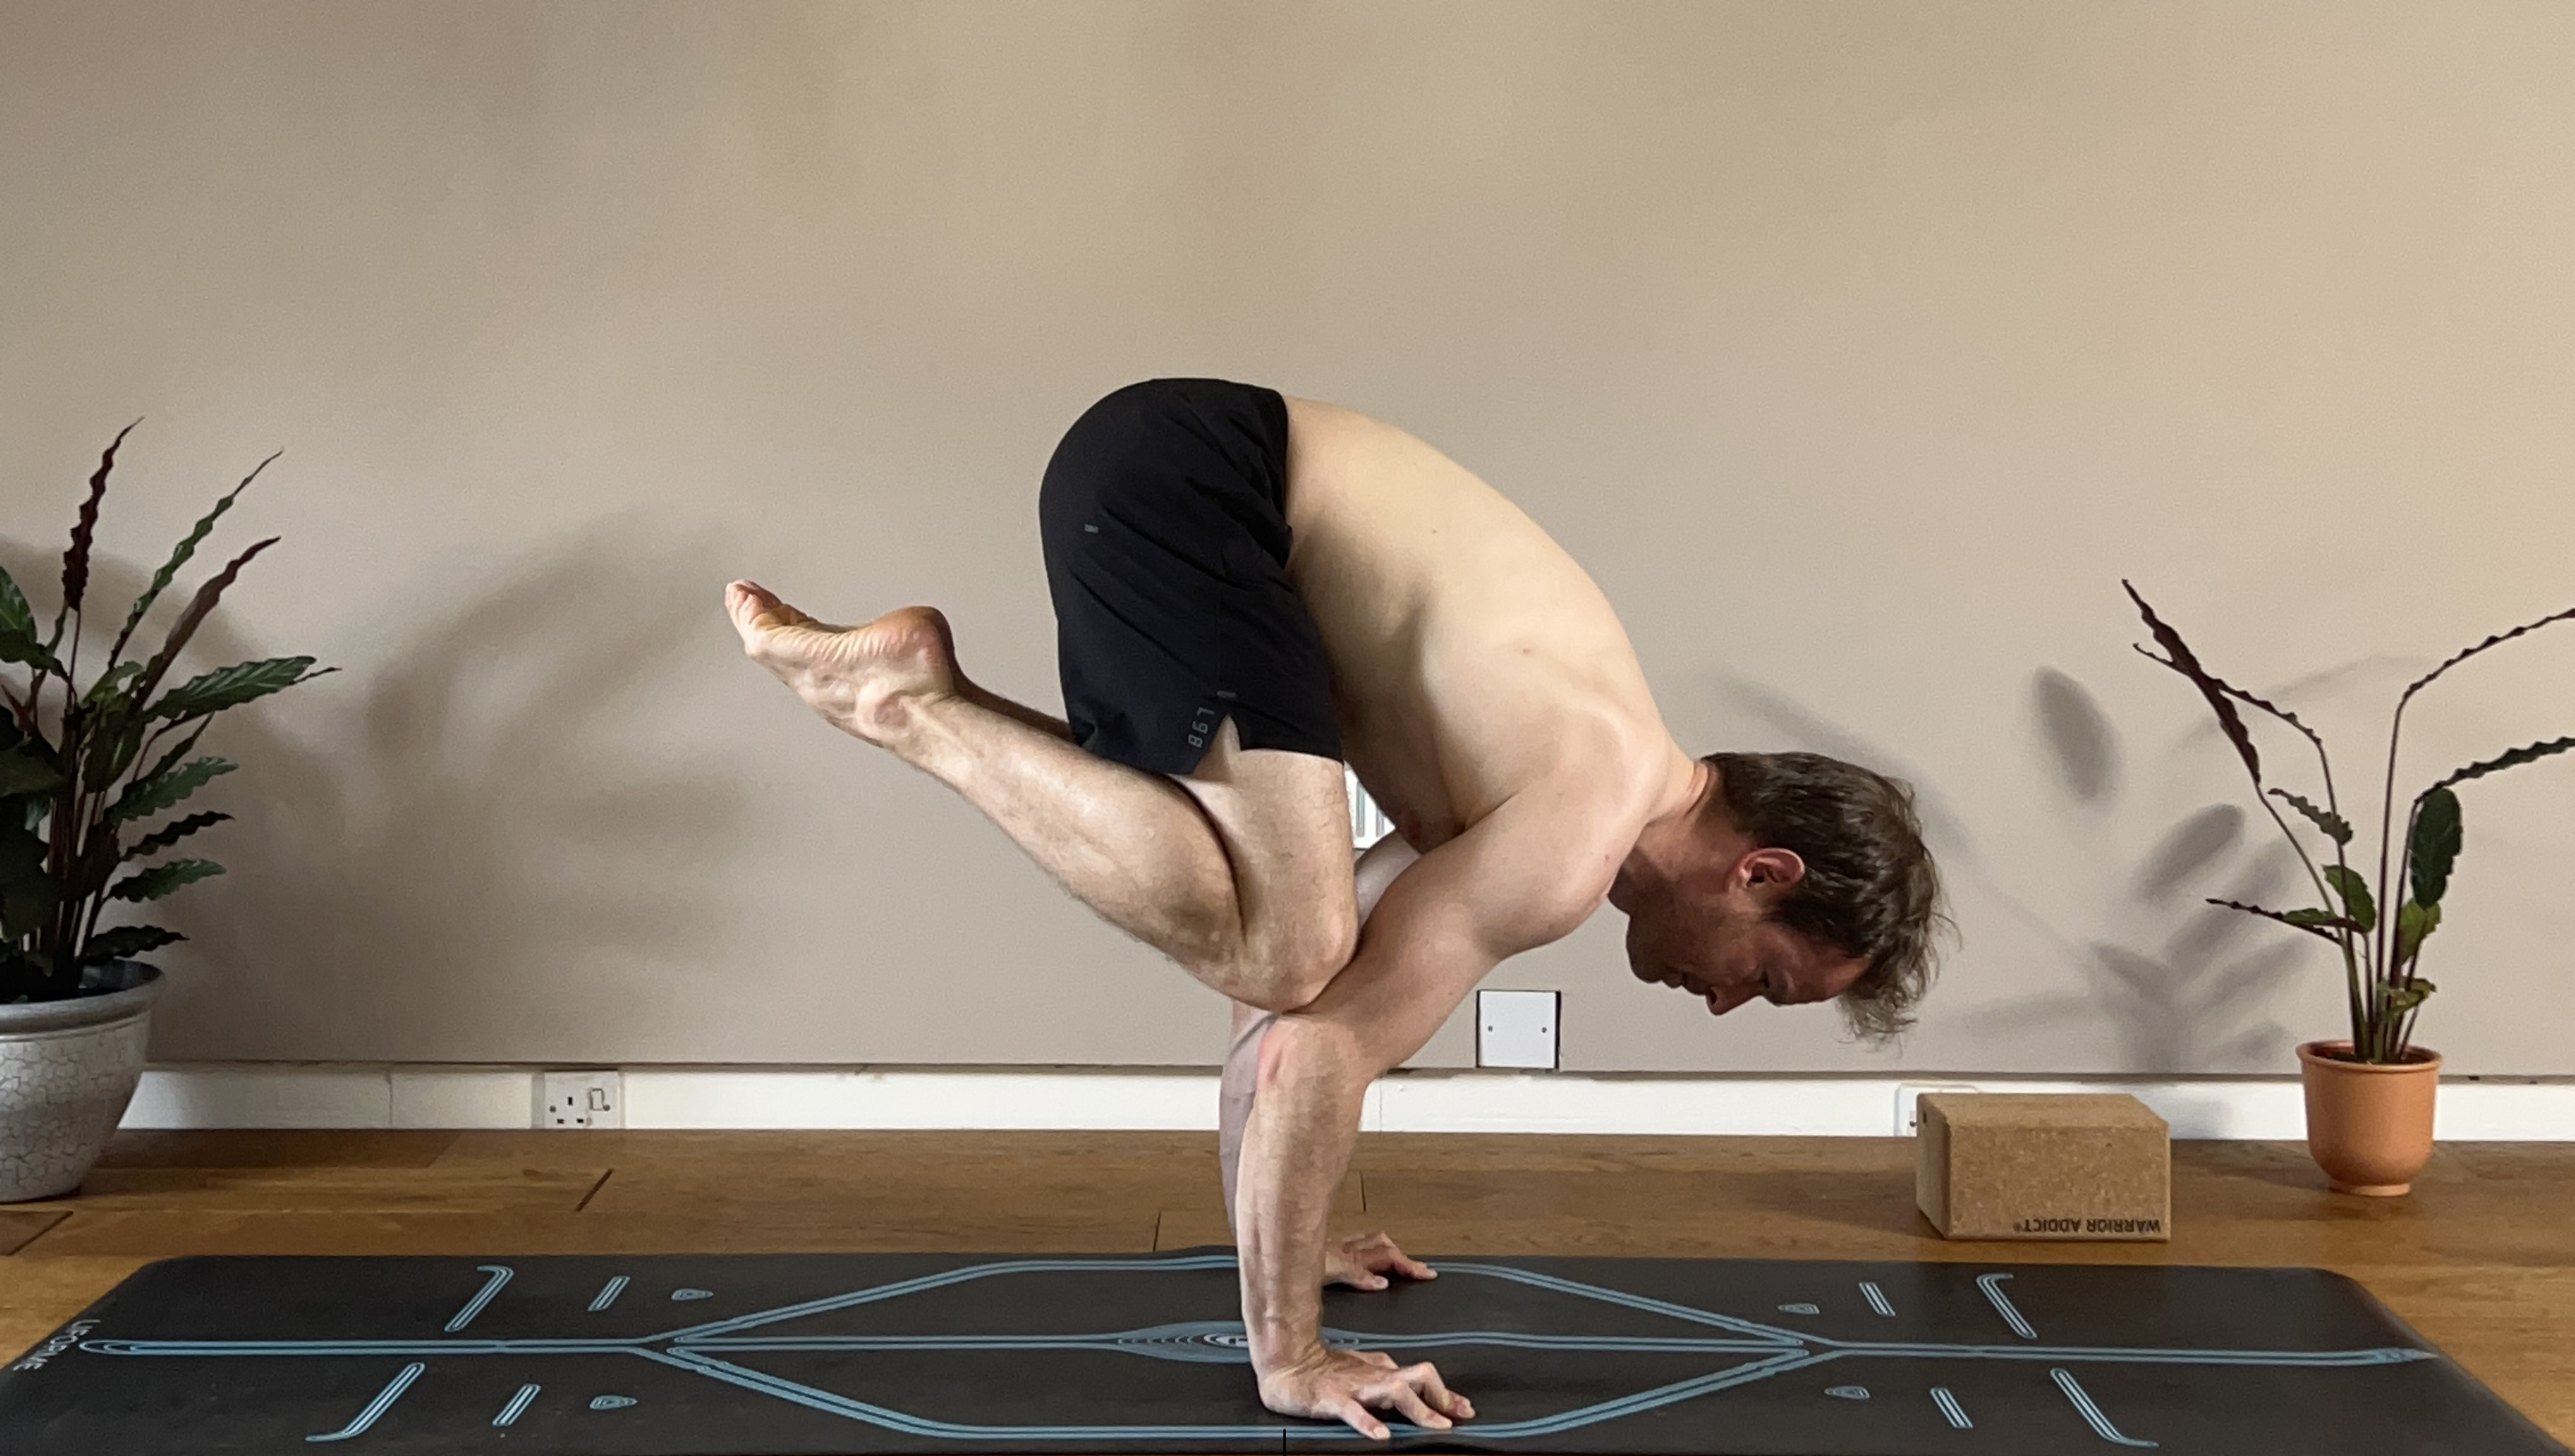
Crow is an excellent example of why hand contact and active wrist control matter.
As your centre of mass moves forwards, the amount of load travelling through the hands increases considerably.
Rather than thinking only about “balancing,” use Crow preparation to practise how you manage that changing pressure.
Why It Helps
Crow preparation can:
- Strengthen the wrists
- Develop active hand control
- Improve balance
- Strengthen the shoulders
- Develop confidence under increasing load
- Prepare the wrists for more advanced arm balances
Begin with both feet down.
Establish your first-knuckle and pisiform contact.
Then gradually shift forwards.
Notice how the pressure within the hand changes.
Keep the fingers active.
Eventually, as your centre of mass moves forwards, the fingers can contribute to controlling that forward shift rather than the wrist simply receiving the load passively.
Lift one foot only when you can maintain control.
Then explore both feet if appropriate.
Progress comes from your ability to control the transfer of force, not simply from getting your feet off the floor.
A More Complete Wrist Practice
Rather than moving immediately into a sequence of weight-bearing poses, I prefer to think of wrist preparation in stages.
1. Explore Range
Begin with controlled wrist flexion, extension and circles.
Notice your available movement without forcing it.
2. Explore Passive Range
Use gentle body-weight shifts in Tabletop to progressively explore wrist extension.
Move in and out of the range rather than simply sitting at your end position.
3. Develop Active Range
Actively move the wrist through the range you can control.
Slow the movement down.
Pay attention to where control becomes more difficult.
4. Establish Hand Contact
Place the hands down and identify the:
First knuckle → Pisiform
Maintain these contact points while keeping the fingers responsive.
5. Gradually Add Load
Progress through:
Tabletop → Downward-Facing Dog → Plank → Crow Preparation
Dolphin can be incorporated between these positions to continue strengthening the shoulders while reducing direct wrist load.
6. Explore Different Wrist Positions
Reverse Tabletop can expose the wrists to another orientation, provided the position remains comfortable and controllable.
The principle is simple:
Explore the range → control the range → load the range.
Common Mistakes When Strengthening Your Wrists
1. Only Stretching the Wrists
More flexibility isn’t always the answer.
If passive range increases without developing active control, you may simply create more range that you aren’t yet able to manage effectively.
Develop mobility and strength together.
2. Ignoring the Hand
Your wrist doesn’t meet the floor by itself.
Your hand does.
Learn to maintain contact through the first knuckle and pisiform and allow the fingers to remain active.
How you use the hand influences how force travels into the wrist.
3. Progressing the Load Too Quickly
Your wrists need time to adapt.
More time in Plank isn’t automatically better.
Increase load progressively while maintaining good hand and shoulder organisation.
4. Confusing Passive Range With Active Mobility
Being able to push your wrist into a position doesn’t necessarily mean you can actively control it.
Explore both.
5. Locking the Elbows and Collapsing Through the Shoulders
The wrist is only one part of the system.
How you organise your elbows, shoulders and trunk influences the amount and direction of force travelling into the hands.
6. Pushing Through Sharp Pain
Loading can create effort and muscular fatigue.
Sharp, persistent or worsening pain is different.
Reduce the load and modify the movement. If wrist pain persists, seek assessment from an appropriately qualified healthcare professional.
Final Thoughts
Building stronger wrists isn’t simply about making a small joint tolerate more pressure.
It is about developing a better relationship between mobility, strength, control and load.
Start with the hand.
Learn how you interact with the ground through the first knuckle and pisiform.
Explore the range available at your wrists.
Then ask how much of that range you can actively control.
Finally, progressively introduce load.
This gives us a much more useful approach than simply repeating weight-bearing poses and hoping the wrists eventually become stronger.
Your hands and wrists are also part of a larger system.
The fingers, forearms, elbows, shoulders, shoulder blades and trunk all contribute to how effectively you manage force.
When those areas begin working together, weight-bearing poses can become more organised, controlled and efficient.
Explore the range. Control the range. Load the range.
That is how we begin turning flexibility into usable movement capacity.
If you would like to explore this approach further, join my online classes on Patreon or explore the A.W.A.R.E. Mentorship approach, where we work with biomechanics, functional mobility, strength and movement strategies tailored to the individual.