 Skip to content

Crow Pose Variation: From Beginner to Advanced Techniques
Welcome to our deep dive into the world of Crow Pose and its variations! I’m Dav Jones, a dedicated yoga teacher trainer, passionate about guiding yogis through their practice, whether you’re stepping onto the mat for the first time or looking to deepen your practice with advanced techniques. Today, we’re exploring the dynamic Crow Pose, its benefits, variations, and how to practice safely. If you’re curious to expand your yoga journey, you’re in the right place. Let’s embark on this journey together, and remember, our team is here to support you every step of the way. Connect with us for personalized guidance and online yoga classes tailored to your needs.
What Is Crow Pose?
Crow Pose, or Bakasana, is a foundational arm balance that challenges and builds upper body strength, core stability and focus. This pose is a gateway to mastering more complex arm balances and inversions, making it a pivotal practice for yogis of all levels.
Benefits of Crow Pose
Practicing Crow Pose offers a multitude of benefits:
- Strengthens the arms, wrists, and core, laying a solid foundation for all hand balance postures.
- Improves balance and focus, essential qualities for progressing in your yoga journey.
- Enhances digestion through the gentle pressure on the abdomen.
- Builds confidence and courage, empowering you to tackle challenges both on and off the mat.
How to Do Crow Pose
- Start in a low squat, placing your hands firmly on the ground shoulder-width apart.
- Press your knees against the outer arms, near the armpits.
- Shift your weight forward, lifting your feet off the ground as you find balance in your hands.
- Engage your core and gaze slightly ahead to maintain stability.
- Hold the pose for a few breaths, then release Crow Pose bringing feet back to the mat.
5 Crow Pose Variations
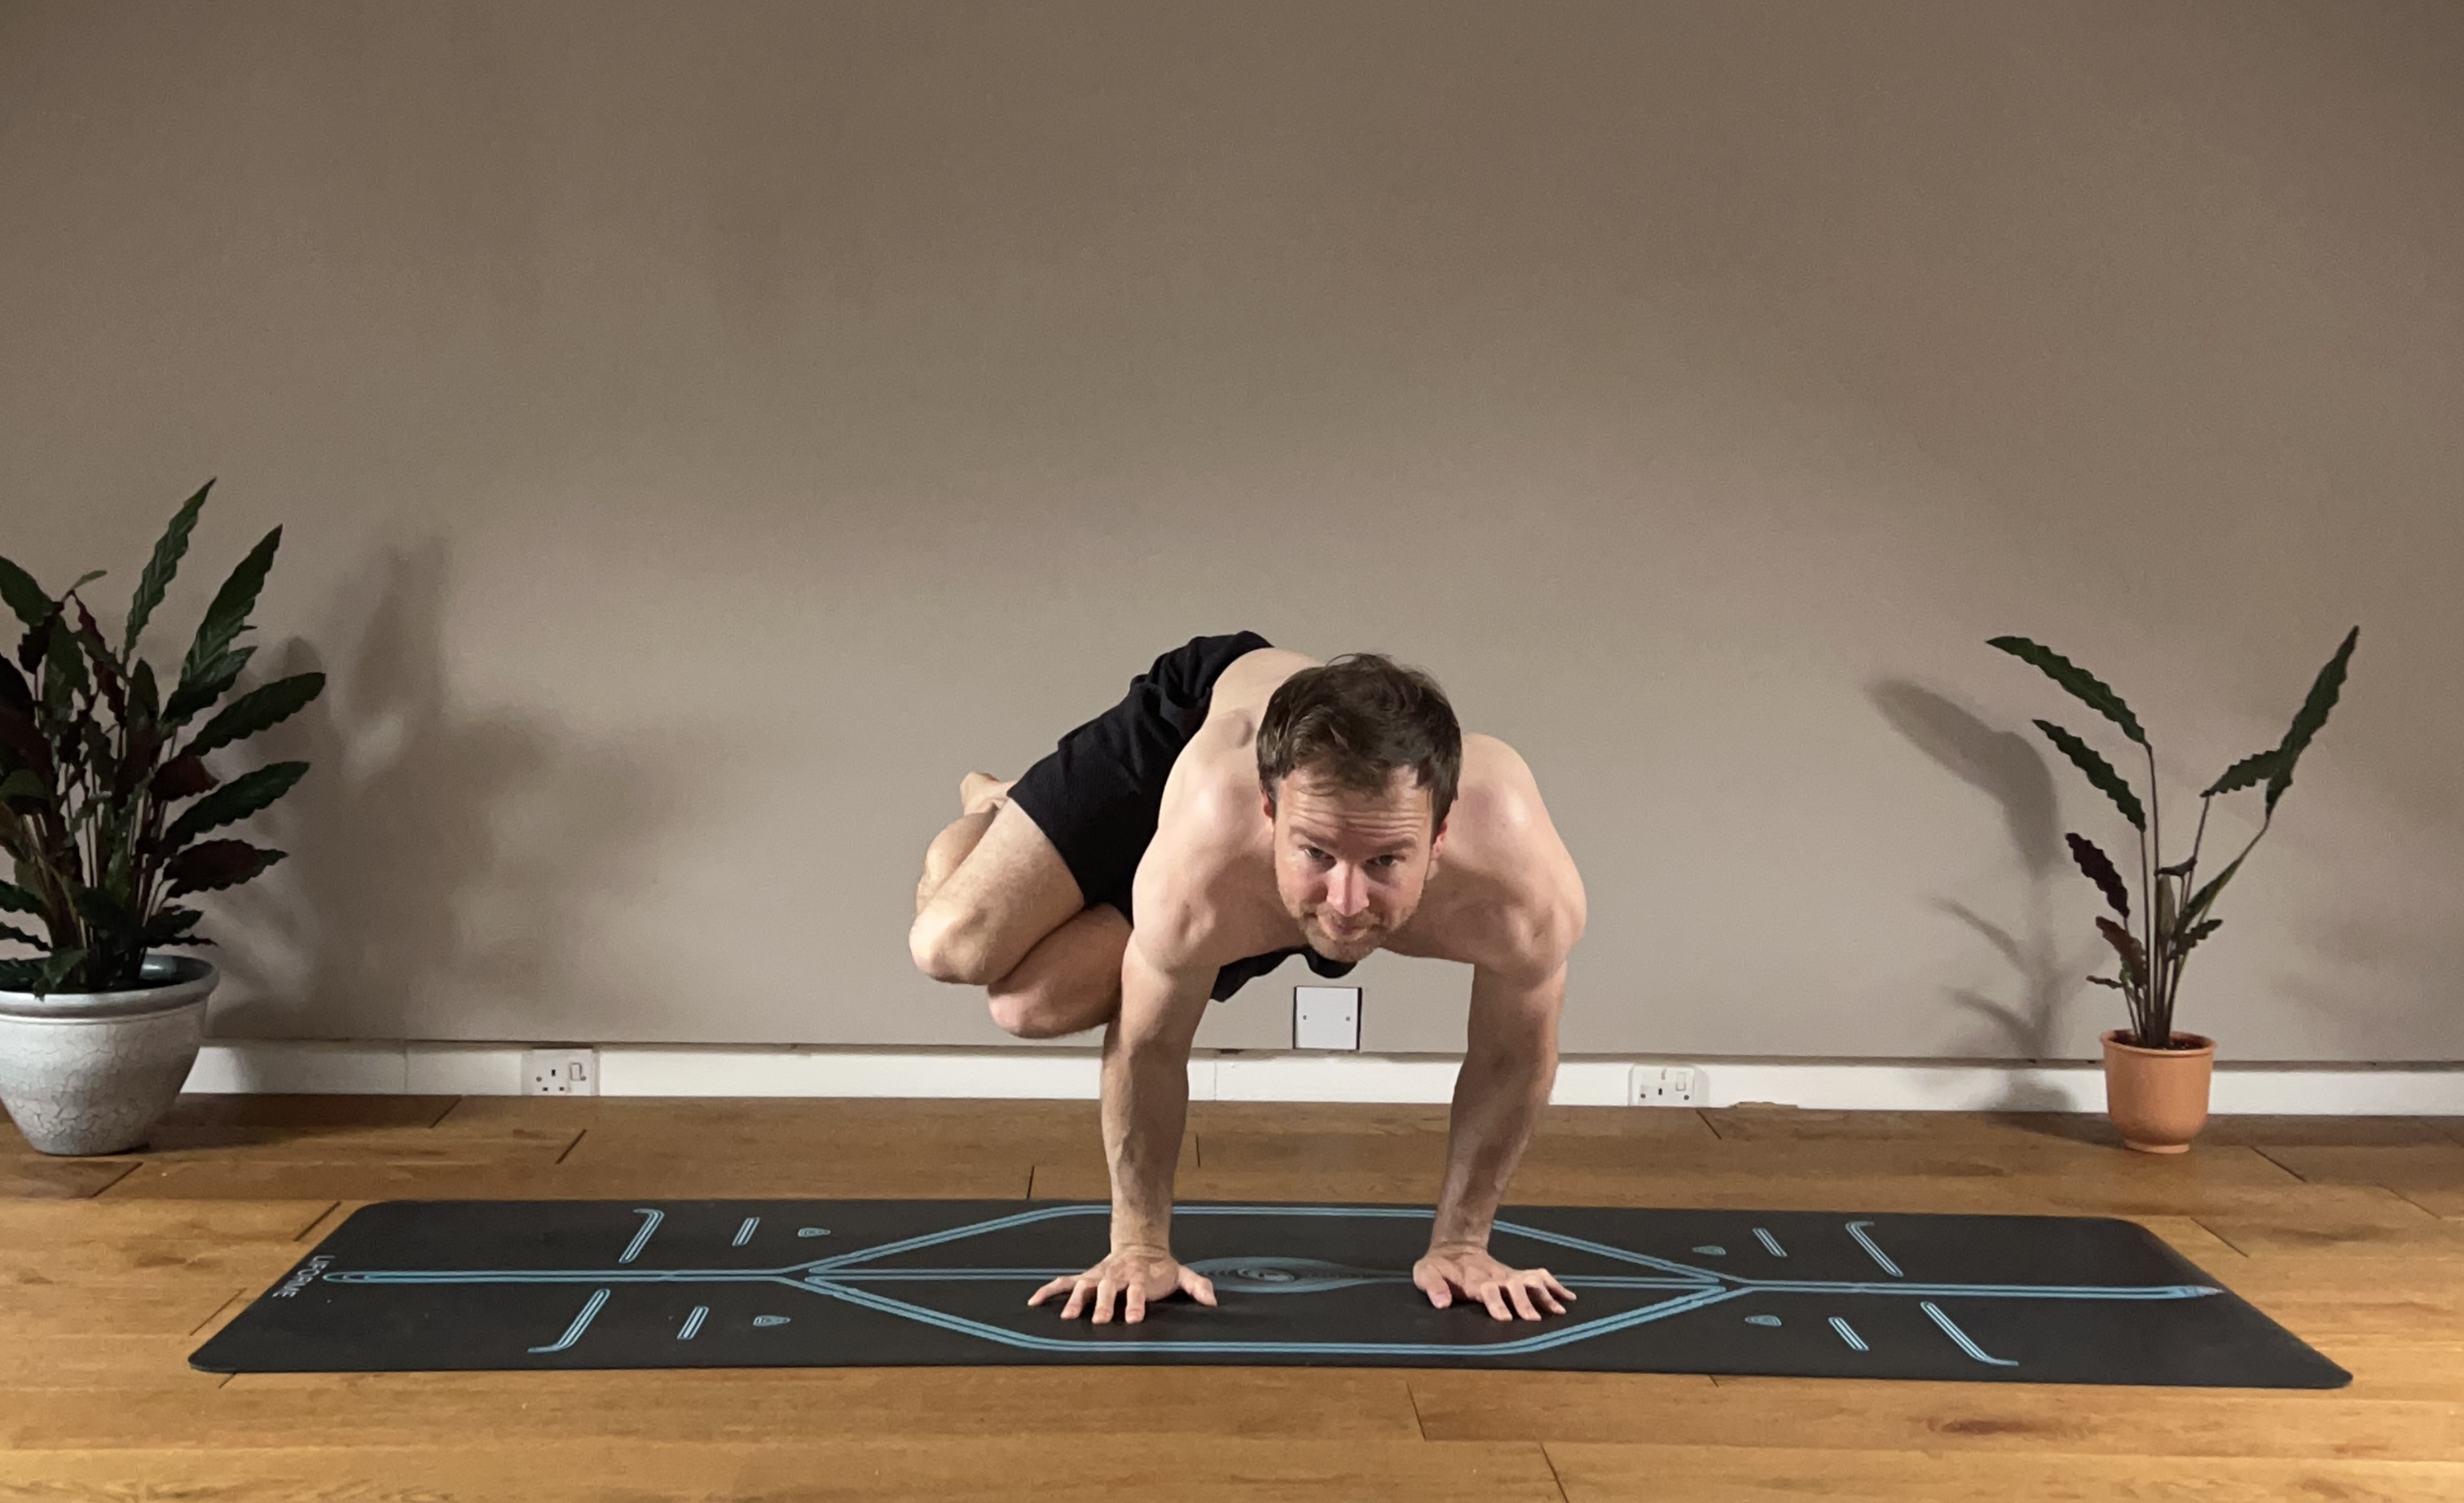
1. Crow Pose (Kakasana)
The Crow Pose demonstrated below is considered as the traditional Crow Pose. There are many variants of Crow pose which involve placing the legs/knees on different locations of the upper arms.
Read below on how to unfold into this accessible yet empowering pose:
Crow Pose
- Begin in a comfortable squat, with your knees wider than your hips, creating ample space for your torso.
- Lean forward, placing your hands on the mat in front of you, shoulder-width apart. Spread your fingers wide, rooting down primarily through the base of the index finger and the pisiform (outer heel of the hand which lines up with the ulna side of the wrist).
- Press your knees gently against your upper arms, see what position your hips will accommodate. Respecting your body’s current flexibility and strength.
- Carefully shift your weight forward, coming onto the balls of your feet. Round your spine similar to that of the ‘Cat Pose’ to facilitate a lightness in the hips.
- With a focus on maintaining a strong, engaged core, lift your feet off the ground one at a time. If lifting both feet feels like too much today, start by lifting just one foot and then try the other.
- Your gaze is crucial here; keep it slightly forward, not down, to help maintain balance.
- Breathe steadily, holding the pose for a few breaths as you build strength and balance.
Crow Pose is more than just a pose; it’s a gentle embrace of your potential and along with facing your fears. On a physical note, this posture lays the foundation for more advanced arm balances by improving your arm strength, core engagement, and confidence in weight shifting.
Benefits: Builds confidence and foundational strength for arm balances. Enhances focus and balance.
Don’t Do This Pose If:
- Wrist injuries
- Pregnancy
- Severe shoulder issues
- High blood pressure
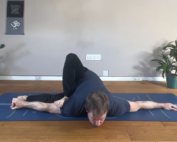
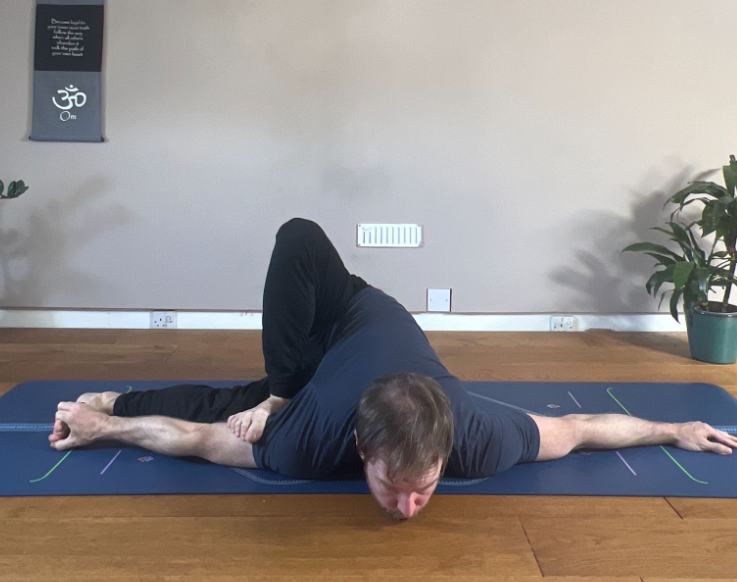
2. Side Crow Pose (Parsva Bakasana)
A twisted version of the Crow Pose that challenges and engages the abdominal obliques.
Side Crow Pose
The Side Crow invites you into a world where balance and twists harmonize. Here’s how you get there:
- Start in a squat, feet together, hands heart-centered in prayer.
- Twist to the right, hooking your left elbow outside of your right thigh.
- Plant your hands shoulder-width apart on the mat, spreading your fingers enough to where you feel grounded through the hands.
- Elevate your feet off the ground by shifting your weight forward. Your right thigh rests on your left upper arm, while your outer right hip can rest on the shelf of the right tricep, or, for more seasoned practitioners you can attempt to aim at lifting the hip off the supporting shelf directing the hips in an upward direction. Here you will feel more weight in the arm which is supporting the knees.
- Gaze forward; let your breath steady your balance.
The beauty of Side Crow is the combination of a hand balance and a twist in one. Side Crow incorporates more of the abdominal oblique muscles than that of the traditional Crow Pose. As you find stability in this pose, you embrace a balance that challenges both body and mind.
Benefits: It strengthens the arms and wrists, improves balance, and engages the core, especially the obliques.
Don’t Do This Pose If:
- Shoulder & Wrist issues
- High blood pressure
- Recent eye surgery
- Severe back pain
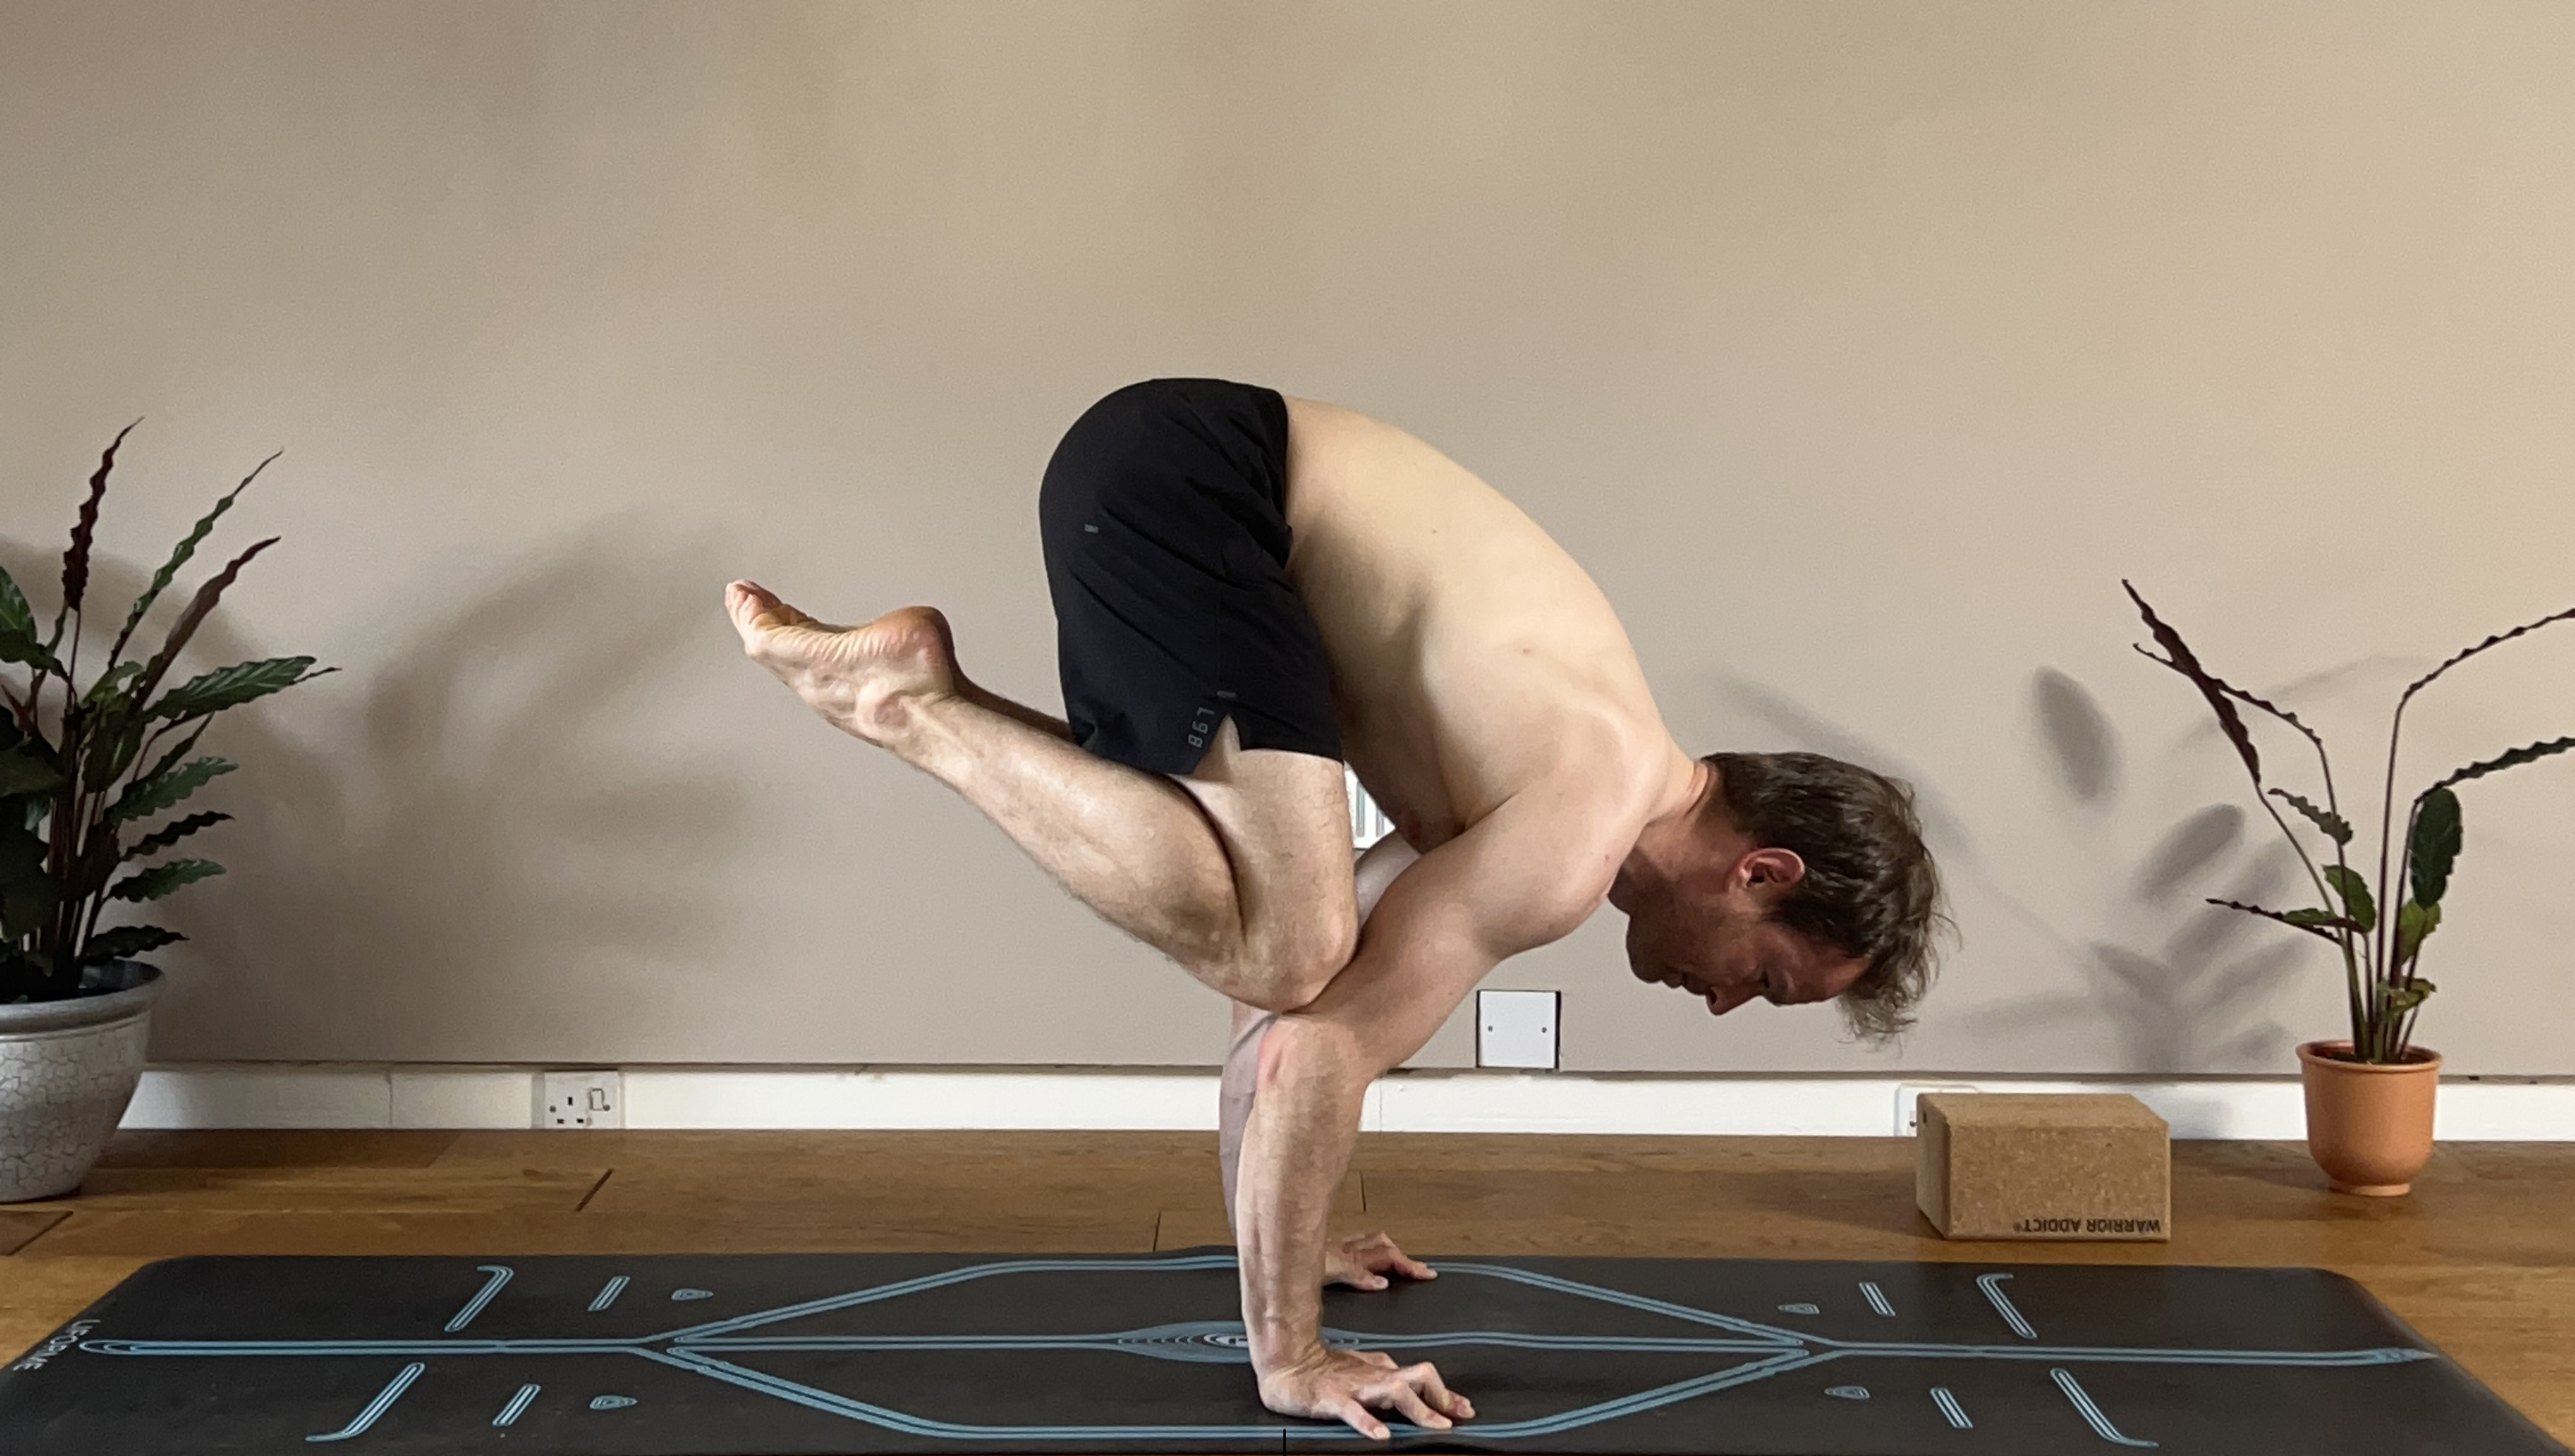
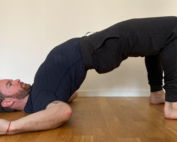
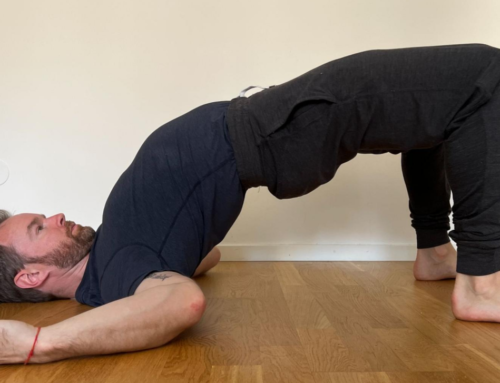
3. Crane Pose (Bakasana)
Crane Pose is more challenging to that of Crow Pose due to the straight arms. Crane pose requires considerable straight-arm scapula strength along with strong abdominal muscles.
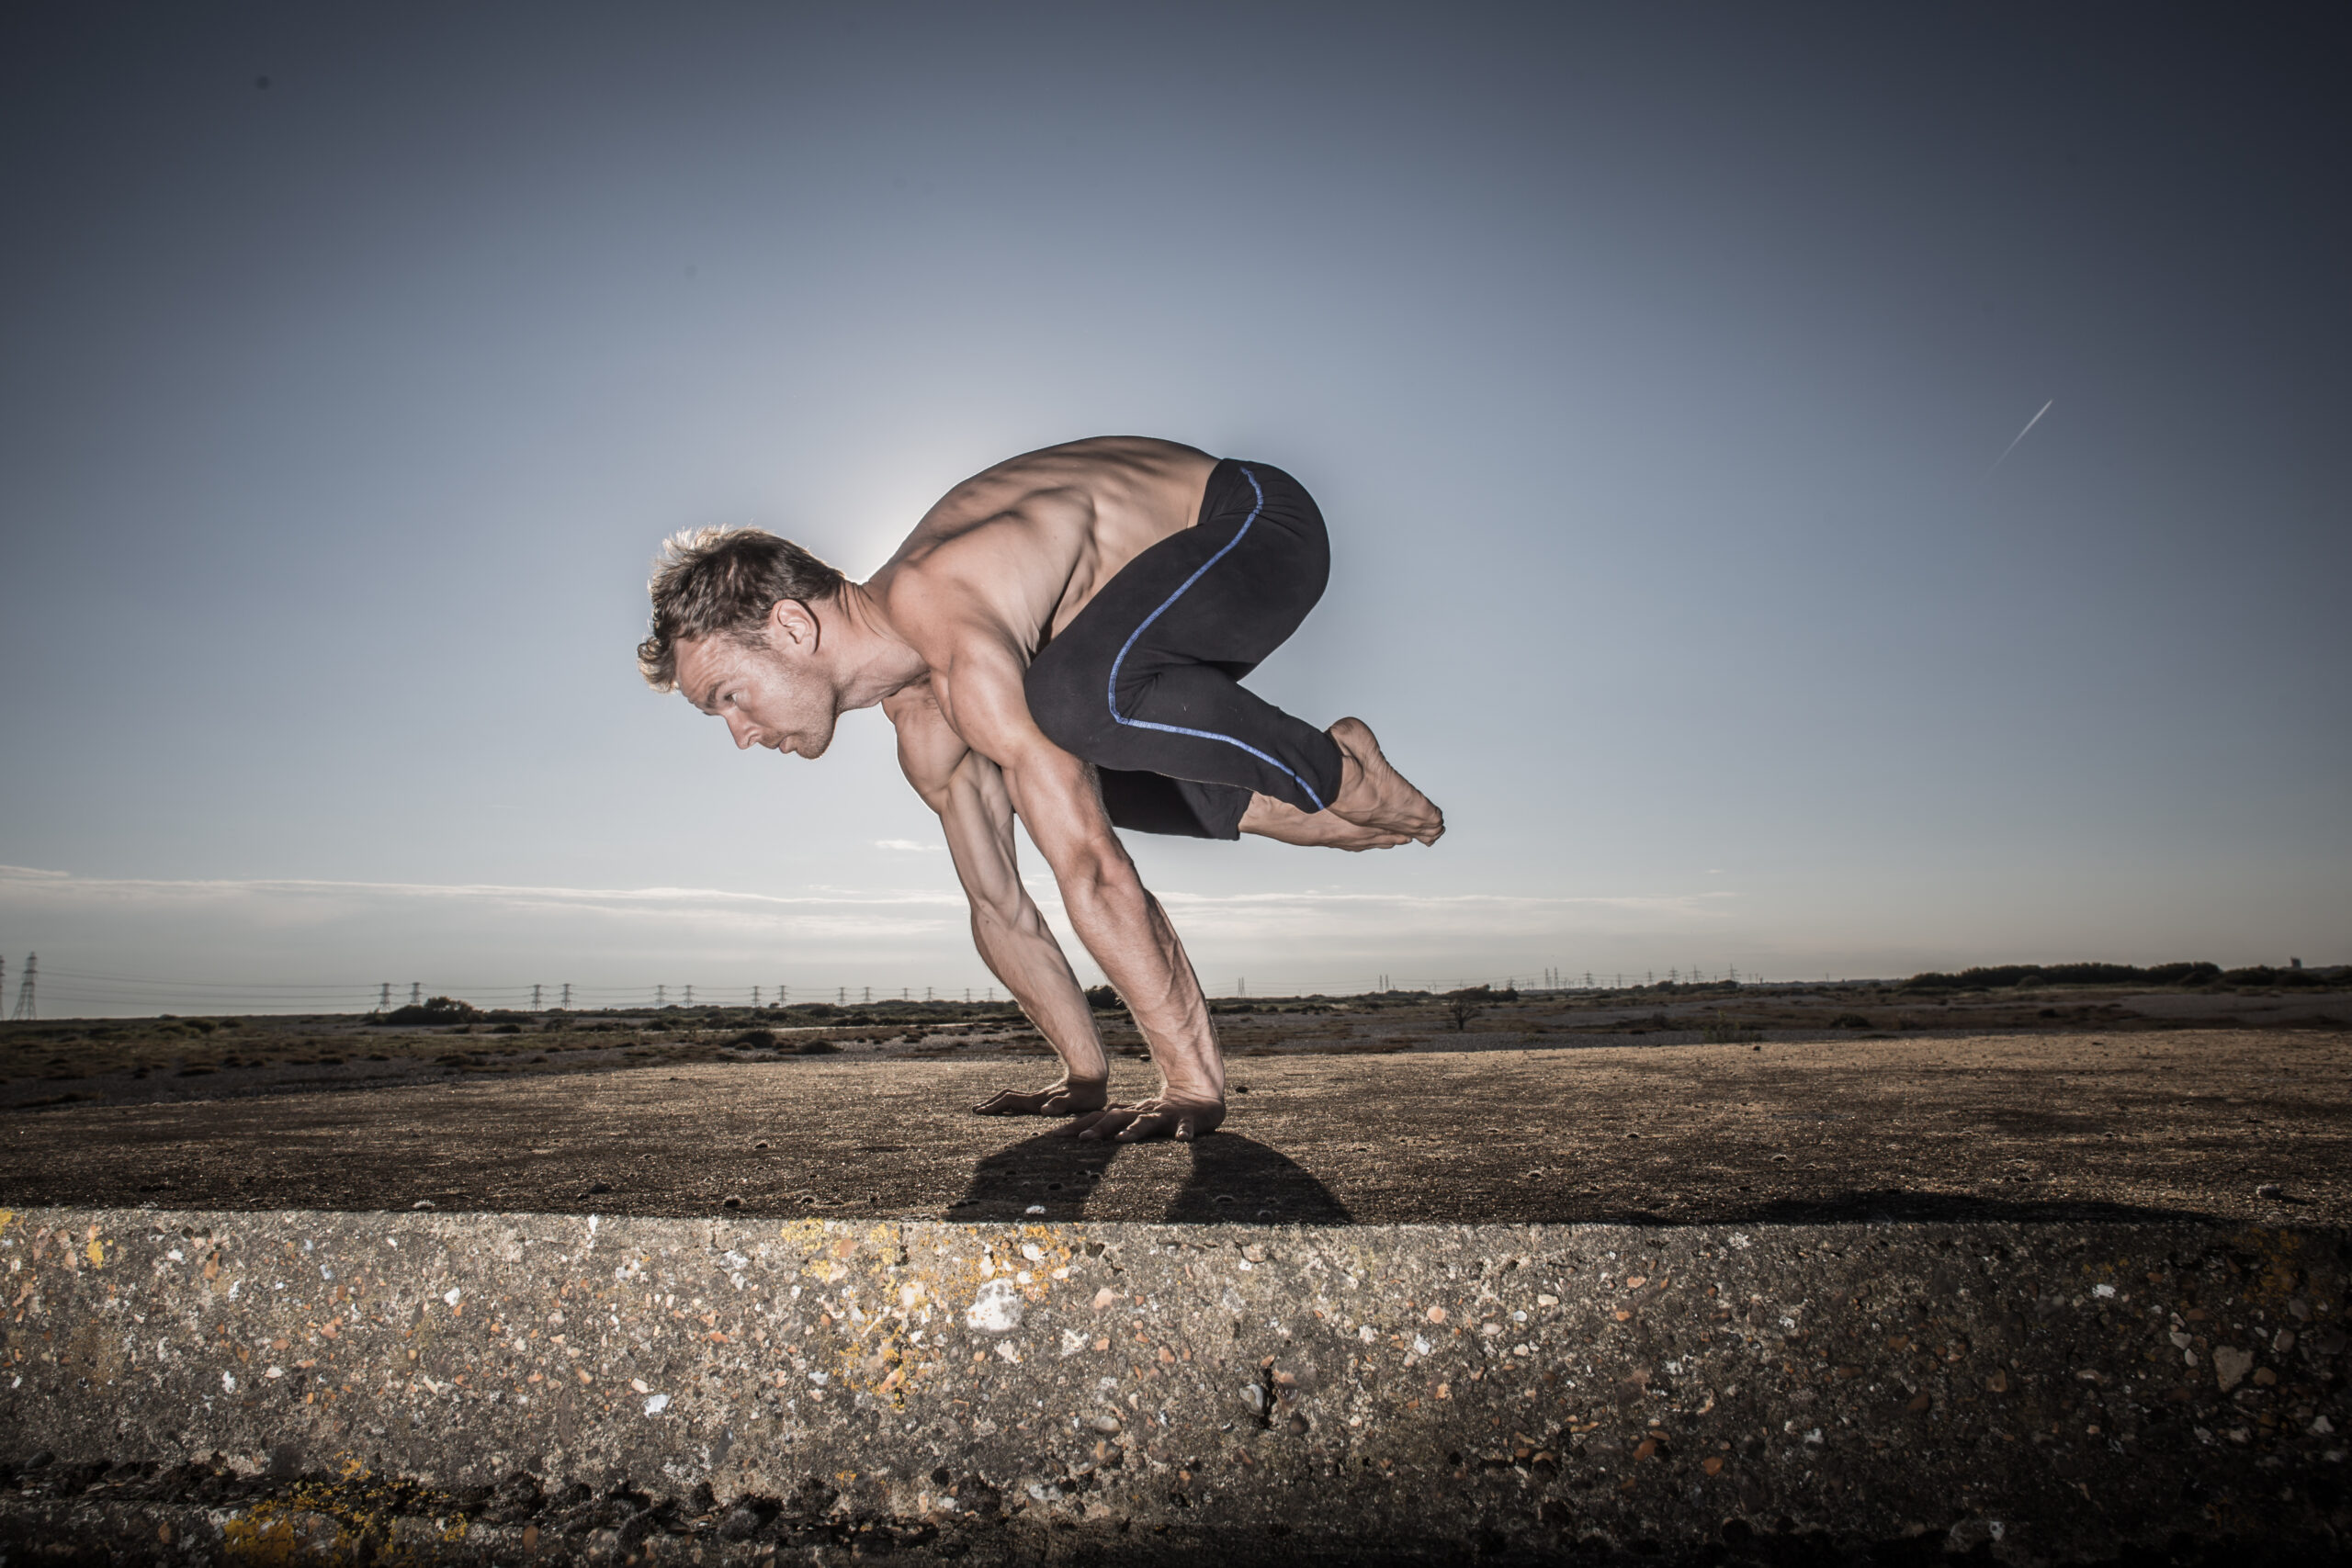
Crane Pose (Bakasana)
Crane Pose turns the volume up on the traditional Crow, demanding more from your arms and core:
- Begin with a similar setup to that of Crow Pose but straighten the arms. Keep the middle finger pointed forward, aligning the front angle of your wrist to the top edge of your yoga mat.
- Place the knees as close into the armpits as your mobility will allow. Flex your spine.
- Lean your body weight into the hands and arms pressing the knees on the backs of the upper arms. Lift the heels of the feet keeping the tips of the toes on the mat.
- Lift one foot off the mat squeezing the heel to the bum. You’ll feel a strong contraction in the hamstring of that leg. Continue to lean your weight forward into the hands and arms. Slowly, lift the other foot off the floor again squeezing heel to bum. Squeezing heel to bum is a fundamental technique as it makes the hips feel lighter taking weight away from the arms.
- Grip the finger tips to help stop you from falling forward out of Crane. Practice pushing back and up whilst in the balance of Crane pose. Pushing in this direction of force will allow you to remain longer in the pose.
- Remember to keep a steady breath whilst in Crane Pose.
Transitioning into the Crane Pose is a testament to your body’s strength. It’s a practice of weight distribution, technique and raw push strength.
Benefits: Strengthens the arms and wrists, improves balance, and increases core engagement.
Don’t Do This Pose If:
- Chronic wrist or shoulder injuries
- Recent eye surgery
- High blood pressure or heart problems
- Pregnancy
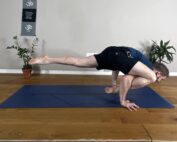
4. Eka Pada Bakasana (One-Legged Crow Pose)
A dynamic variation of the Crow Pose where one leg extends back increases the demand for balance and core strength.
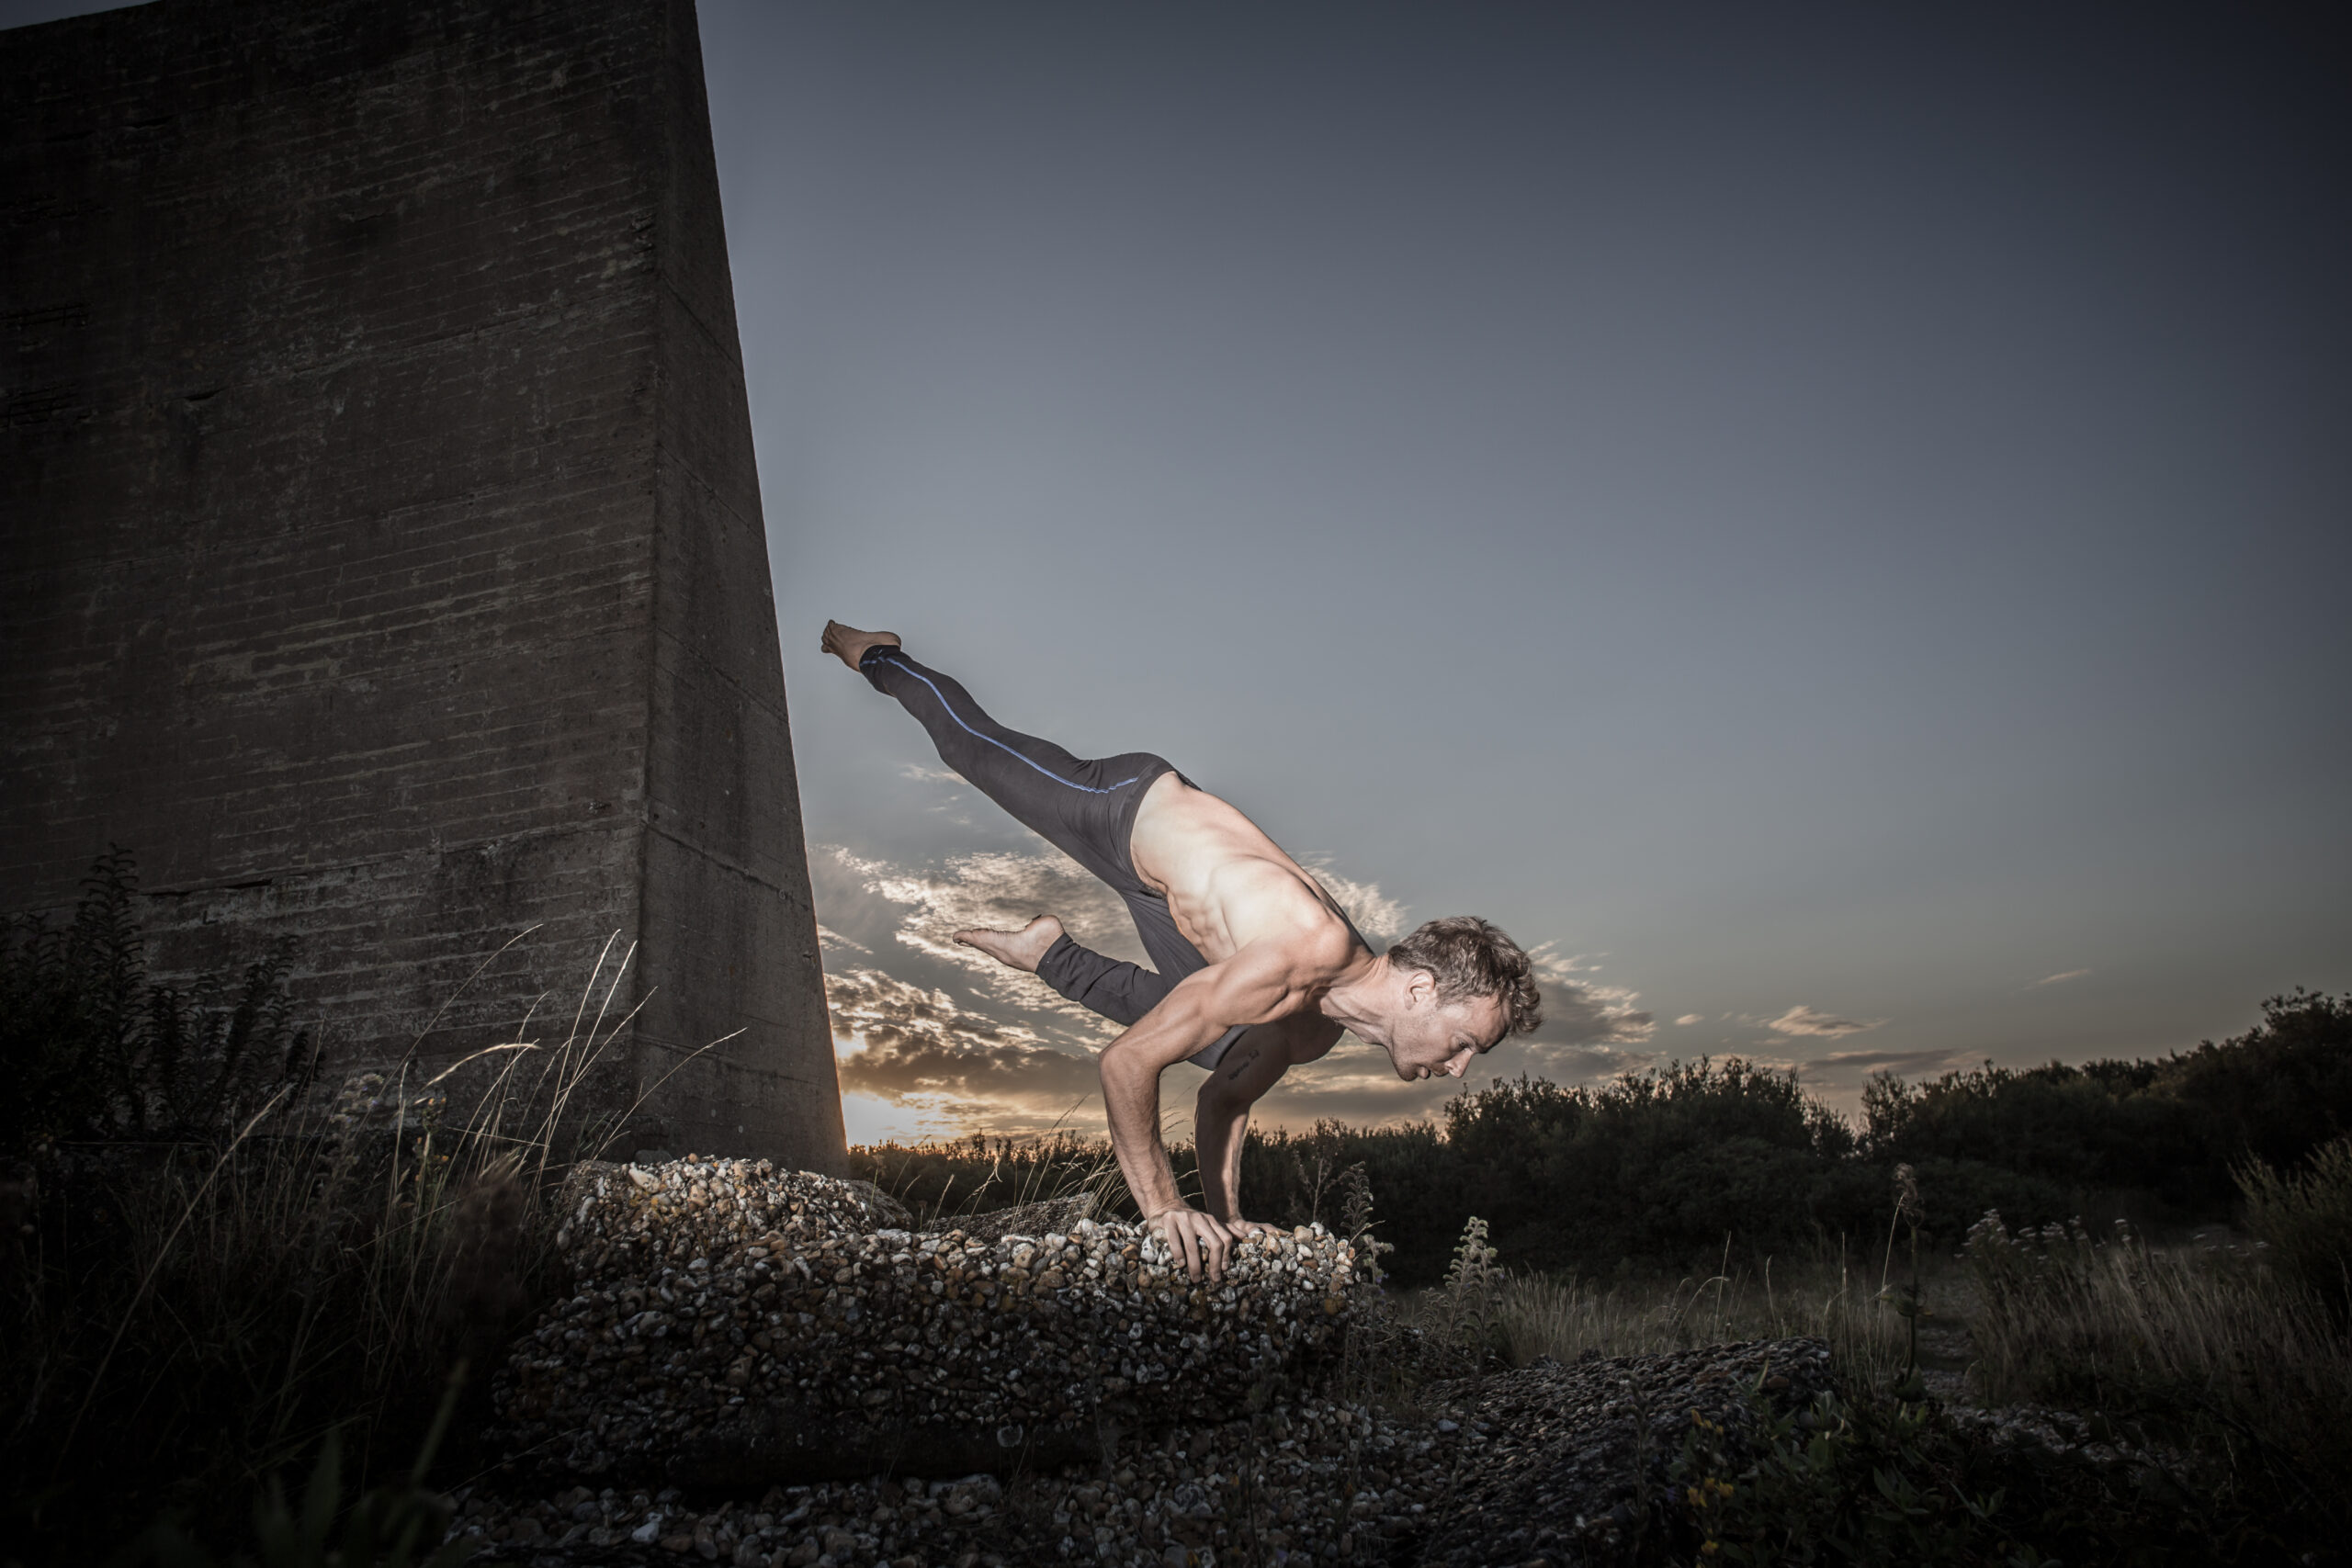
Eka Pada Bakasana
The Flying Crow is your invitation to defy gravity. It’s a journey from grounding to soaring:
- Begin in the regular Crow Pose, focusing on a strong foundation.
- Slightly shift your weight over to the left arm/hand. Keep your elbows hugging towards each other.
- The opposite arm to which you shifted the weight into, slowly lift the knee off and gradually extend the leg back.
- Engaging your entire leg pointing through the toes and lifting upwards through the leg.
- Keep your gaze fixed at one point, lean forward and slightly downward with the shoulders and body and maintain a strong core to support this rear leg extension.
- The left knee that is supported on the arm remains flexed, draw the heel to the glute.
- Practice patience and persistence. The Flying Crow teaches you that every attempt and fall is a step closer to flight.
Embracing the Flying Crow means embracing a practice where balance and bravery meet. It’s an exquisite blend of focus, strength, and the art of letting go.
Benefits: Enhances core stability, increases focus, and improves balance. Strengthens the arms and wrists.
Don’t Do This Pose If:
- Core or lower back injuries
- Inner ear problems
- Wrist injuries
- High blood pressure
5. Crow Pose To Handstand
An advanced variation that combines the foundational strength of Crow Pose with the exhilarating challenge of a handstand. The Crow Pose to Handstand is a journey of elevation, where arm balance meets inverted grace.
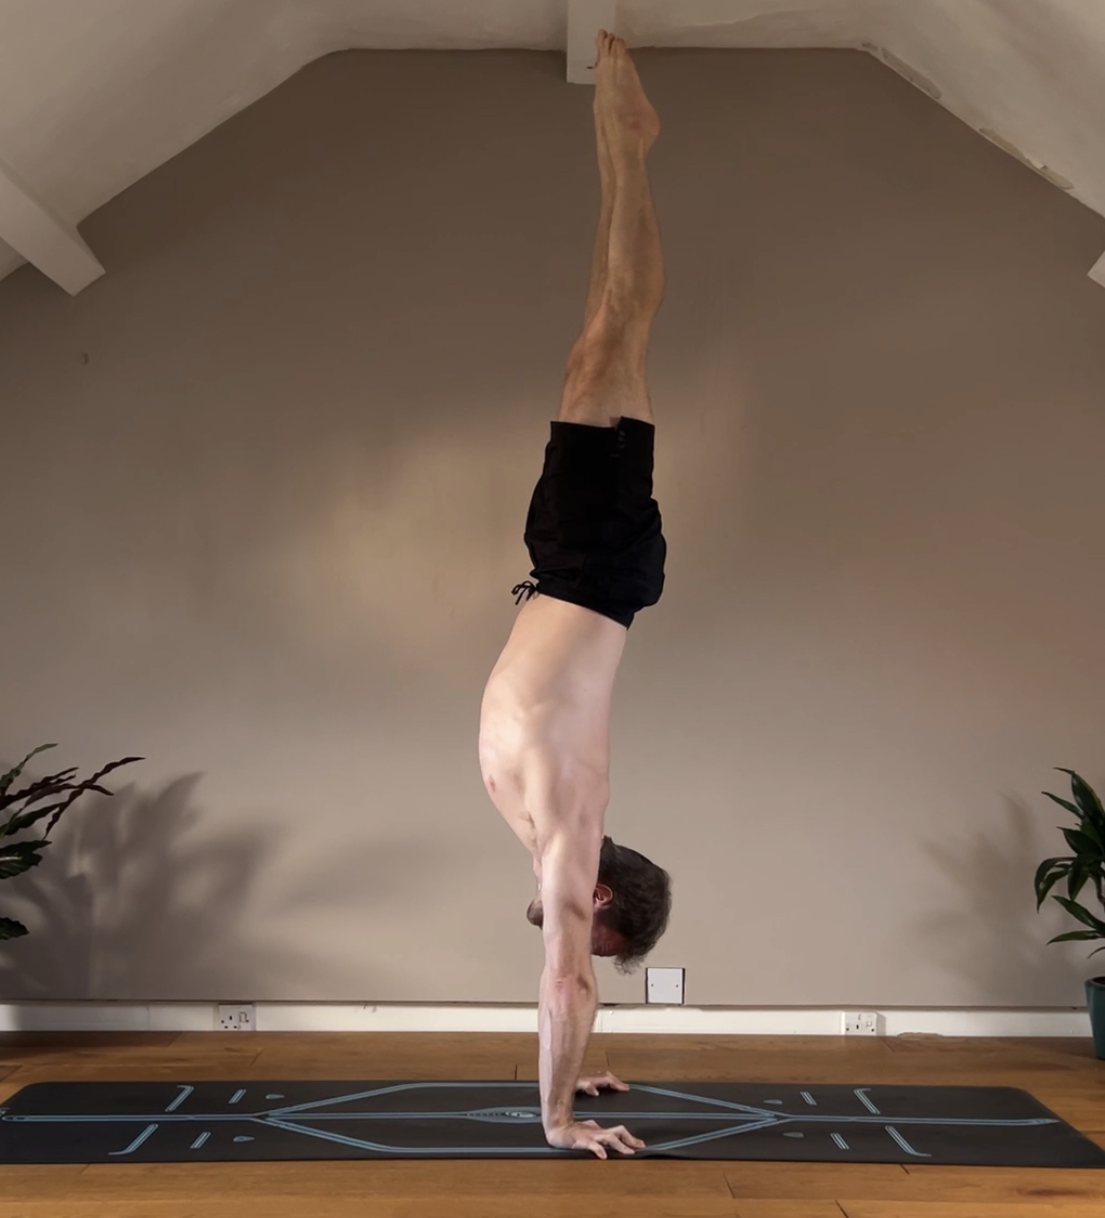
Crow Pose To Handstand
What Is the Difference Between the Crow Pose and the Crane Pose?
Although the base of both stances is the same, arm extension is where they diverge most. While the Crane Pose requires more strength and balance and is more difficult for practitioners to do with straight arms, the Crow Pose is easier to execute with bent arms.
How to Do Yoga Safely and Avoid Injury
Safety is paramount in yoga. Here are some tips to ensure a safe practice:
- Warm up thoroughly to prepare primarily your wrists first before practice hand balancing.
- Use props as needed to support your body as you learn new poses.
- Pay attention to your body and respect its limitations.
- Seek guidance from experienced teachers, especially when trying advanced poses.
Ready to Learn More About Yoga?
Whether you’re taking your first steps into the world of yoga or you’re an experienced practitioner seeking to deepen your skills, our online classes provide tailored instruction for mastering the hand balance family in the yoga asana practice. Connect with Dav Jones Yoga on the Patreon channel or have a look at the DJY Mentorship programs. Learn how we can support your journey toward achieving strength, balance, and playfulness in your yoga practice.
FAQs on Crow Pose Variation
Q1: Can beginners do Crow Pose?
A: Yes, beginners can start with Crow or use props to ease into the pose. Consistent practice will build the necessary strength and balance.
Q2: How often should I practice Crow Pose?
A: Integrating Crow Pose into your practice 2-3 times a week can help improve your balance and strength over time.
Q3: What are common mistakes in Crow Pose?
A: Common mistakes include not activating the push muscles, placing hands too close together, and fear of falling. Practice patience and persistence to progress in your hand balance practice.


